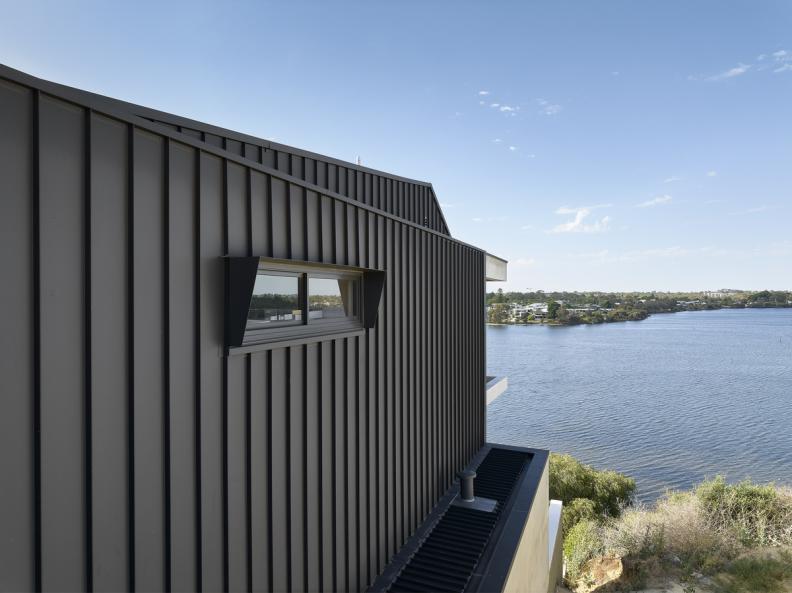
Rather than drilling fasteners through the cladding to secure it, with concealed fixing the sheet is held in place with clips. To install the cladding the fastening clips are themselves fixed into the supports (battens or purlins), then the sheets are located over them, and pressure applied, with the sheet rib expanding and slotting over the fastening clips to lock the cladding in place.
While concealed fixing provides a reliable and sturdy finish, at some stage homeowners may need to remove a sheet or two to perform maintenance or if installing something like a skylight to the roof. It may look like an impossible job without damaging the cladding, but with the right technique and know-how it’s very achievable.
The main challenge in removing concealed-fixed cladding is that the cladding ribs fit very tightly to the fixing clips and are overlapped with other sheets, making the fit even more snug – the space is normally too narrow and the angle too awkward for pry tools to effectively be used without damaging the sheet.
The solution is to move to the gutter end of the Fielders® steel cladding and instead use a pry tool or wide flat head screwdriver here, positioning it between the sheets to gently open the gap. While maintaining the pry tool in position, a pry bar can also be applied along the edge to leverage apart, taking care not to damage the cladding pan (a block of timber can be placed under the bar when leveraging for added protection).
With the gap further opened, it should now be possible to fit fingers (please wear gloves) under the edge and carefully roll-back the sheet. Once sufficient pressure is applied, the sheet should release from the fixing clip and rib of the sheet below. Care needs to be taken not to pull upwards too sharp and aggressively because this could result in kinking the rib.
Now that a good section of the sheet is free of the clip, gradually move along its length using the hands to loosen along the rib. If there are any tight areas, such as at the next fastening point, use the pry bar to gently loosen as described earlier. With the length of the cladding removed along the first rib, the sheet can be curled back which will release the next lot of clips from the next rib. Repeat the process as needed.